 So I made Whoopie pies today for the first time! They were an absolute hit ! Whoopie pies sorta have an identity crisis...noone is really sure if they're cakes...cookies...or pies. But one thing everyone can agree on is that they're YUMMY so who cares what section of the cookbook they belong in?
My view of the whoopie pie is that it's sort of like a homemade Oreo Cookie...but I'm always really curious about how or where these things come from! Here's a little blurb about where these 'deelushus' treats originated...
The history of the Whoopie Pie:
According to food historians, Amish women would bake these desserts (known as hucklebucks at the time) and put them in farmers' lunchboxes. When farmers would find the treats in their lunch, they would shout "Whoopie!" It is thought that the original Whoopie pies may have been made from cake batter leftovers.
I guess if they were created now they'd be called MMMMM Pies...because normal people don't really yell "WHOOPIE" anymore, right?
These treats can be made in pretty much any flavor or filling. These were made to fill a special request my brother made...He is an absolute choc-aholic so I made chocolate whoopie pies made with whipped chocolate ganache filling!
The Recipe
Cookie Dough
2 cups All Purpose Flour
1 cup Sugar
3/4 cup Milk
1/2 cup Unsweetened Cocoa
6 Tablespoons Butter or Margarine (Melted)
1/2 Teaspoon Baking Soda
1 Teaspoon Vanilla Extract
1/4 Teaspoon Salt
1 Large Egg
1. Preheat oven to 350 degrees Farenheit.
2. Prepare the cookie dough by mixing all of the ingredients in a large bowl with a spoon or in a mixer ! Mix all ingredients until smooth.
3. Grease 2 large cookie sheets. TIP: I like to brush the cookie sheet with Wilton's cake release but that's just a personal preference
4. Drop the dough onto the cookie sheets using a tablespoon. The size depends on how large or small you want the cookies to be but make sure you're consistent. Consistency in sizes is helpful when you sandwich the cookies together! Place the cookies 2 inches apart.
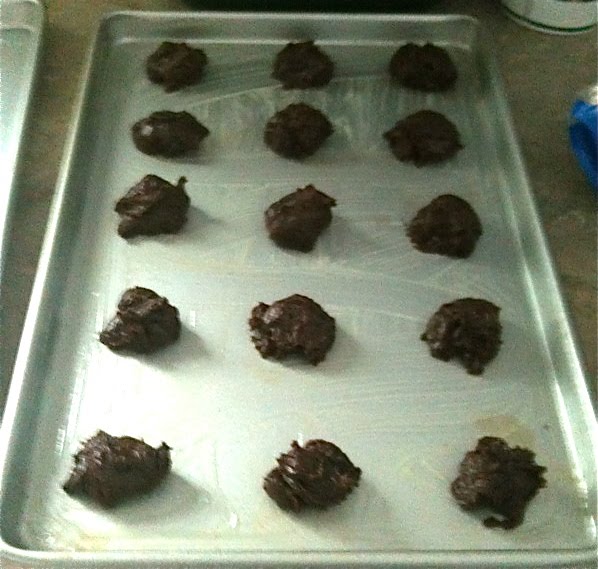
5. Bake for 12 to 14 minutes, Halfway through the baking - rotate the cookie sheets between the upper and lower racks. Bake until the cookies puff up and a toothpick inserted in the center comes out clean.
6. Let the cookies cool on the baking sheet for 5 minutes. Using a wide spatula transfer the cookies to wire racks to completely cool.

7. Prepare the Ganache while the cookies cool on the wire racks.
Whipped Ganache
1 cup Heavy or Whipping cream
2 Tablespoons of Sugar
2 Teaspoons Butter or Margarine
10 ounces of semisweet chocolate chips
1 teaspoon Vanilla Extract
1. In a medium sized pot or saucepan combine the cream, sugar, and butter over medium-high heat. Remove from heat once once the mixture starts to boil.
2. Add vanilla extract and chocolate chips to the mixture and whisk until the chocolate is completely blended in. The mixture should start to look like melted chocolate goodness (YUMM!).

4. Place in refrigerator to cool down to room temperature.
Tip: I usually transfer the chocolate to the mixing bowl I'll be using later to whip the ganache. (This saves space in the fridge, lets me clean the saucepan sooner and the ganache is easier to move when its warm).
5. Once the ganache has cooled down to room temperature use a hand-held mixer or countertop mixer to whip the ganache. As you whip the ganache, it should change colour to a lighter brown and become more fluffy. Whip it until you reach a texture you're comfortable with.
The Construction
2 Whoopie Cookies + Whipped Ganache = Whoopie Pies!
1. Match up similarly sized cookies, use a spatula to put some ganache and sandwich them together! WHOOPIE! you did it!
2. Dust powdered sugar if you'd like for added decoration. (Optional)
3. Stuff your face and enjoy the treats of your labor and hard work!
Tip: Nice cup of cold milk is an amazing addition to this treat!
